
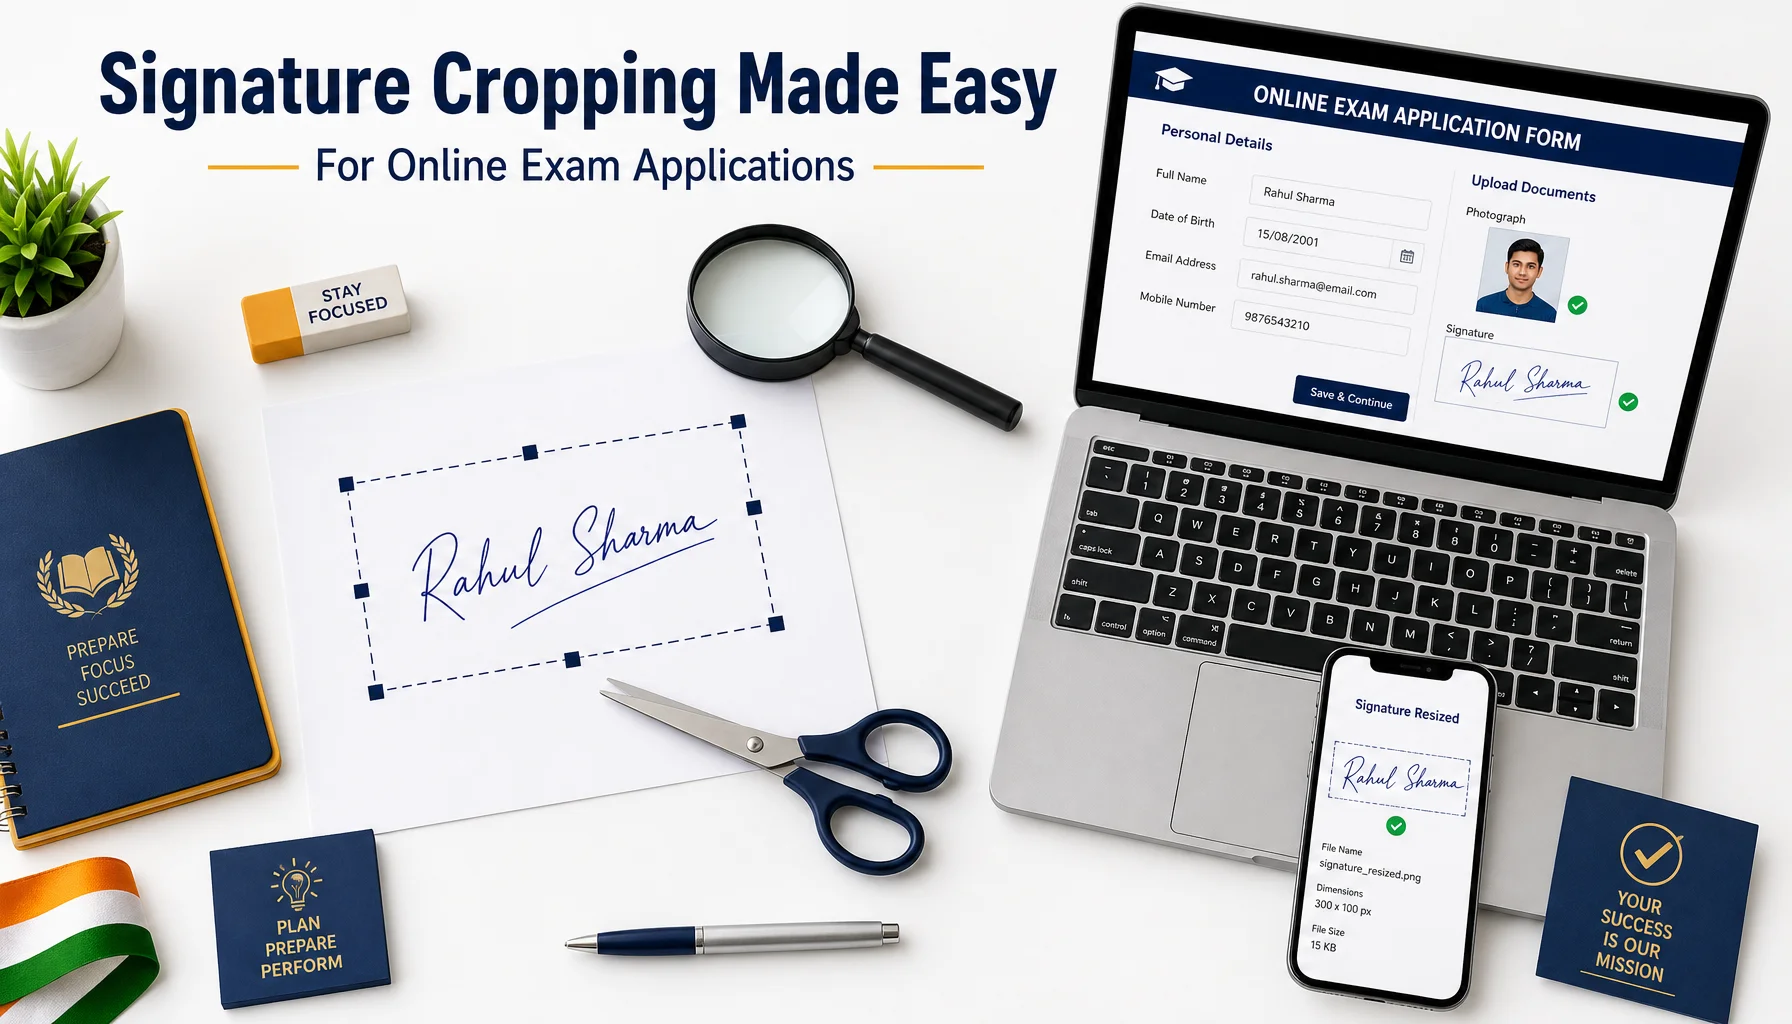
Applying for a government exam online often feels straightforward—until you reach the document upload section. Suddenly, you’re staring at strict requirements: your signature must be a JPEG, no larger than 20 KB, exactly 140 x 60 pixels, with a white background. Get it wrong, and the portal rejects your application, sometimes minutes before the deadline. This tutorial walks you through the entire process of scanning, cropping, and formatting your signature so it meets the exacting standards of most exam registration portals—without stress or last-minute panic.exam prep
Why Signature Formatting Matters
Exam boards use your uploaded signature to verify your identity during the exam and at document verification stages. A blurry, oversized, or improperly cropped signature can lead to application rejection or complications on exam day. Most portals—whether for SSC, UPSC, banking, railways, or state-level exams—specify precise dimensions, file sizes, and formats. Meeting these specifications isn’t optional; it’s a gatekeeper to a successful application.
Common Signature Requirements
While specifications vary slightly between exams, most portals demand something close to the following:
- File format: JPEG or JPG (occasionally PNG)
- Dimensions: Around 140 x 60 pixels (width x height)
- File size: Between 10 KB and 20 KB
- Background: Plain white, no shadows or textures
- Ink color: Black or blue ballpoint pen
Always check the official notification for your specific exam before you begin. The numbers above are a reliable starting point, but exam-specific rules take priority.typing speed
Step 1: Sign on Clean White Paper
The quality of your final image depends heavily on the original. Follow these tips when creating your signature:
- Use a clean, unlined sheet of white A4 paper.
- Sign with a black or blue ballpoint or gel pen—avoid pencils and light-colored inks.
- Keep your signature within an imaginary rectangle so it fits the required proportions naturally.
- Sign confidently in your normal handwriting; don’t make it too large or too tiny.
Leave a bit of white space around the signature. This margin gives you room to crop cleanly later.
Step 2: Scan or Photograph Your Signature
You have two practical options for digitizing your signature.
Using a Scanner
A flatbed scanner produces the cleanest results. Scan at 200–300 DPI for a crisp image, save it as a JPEG, and you’ll have a clear, evenly lit signature to work with.
Using a Smartphone Camera
If you don’t have a scanner, your phone works fine. Keep these points in mind:
- Place the paper on a flat surface in bright, even lighting.
- Hold the phone directly above the signature to avoid distortion.
- Make sure there are no shadows falling across the paper.
- Consider using a scanning app that automatically flattens and whitens the background.
Step 3: Crop the Signature
Cropping removes the excess white space and centers your signature. This is the most important step for meeting dimension requirements. Use a dedicated signature crop tool or an image crop tool for the cleanest results.railway cut off
- Open your scanned image in the cropping tool.
- Draw a selection box tightly around your signature, leaving a small, even margin on all sides.
- Crop out everything outside that box.
- Preview the result to ensure no letters or strokes are cut off.
A good crop keeps your signature horizontally centered with a thin, balanced border. Avoid cropping so tightly that the edges of your signature touch the boundary.
Step 4: Resize to the Required Dimensions
Once cropped, your image is probably still too large in pixel dimensions. Use an image resize tool to bring it down to the specified size—commonly 140 x 60 pixels.
- Enter the exact width and height required by your exam portal.
- If the tool offers it, maintain aspect ratio only if your crop already matches the required proportions. Otherwise, set exact dimensions.
- Preview to confirm the signature still looks clear and legible at the smaller size.
Resizing after cropping ensures your signature fills the frame properly rather than sitting tiny in a corner.
Step 5: Compress to Meet the File Size Limit
Portals often cap file size at 20 KB or even less. If your resized image exceeds this, compress it:
- Save the image at a slightly lower JPEG quality setting (around 70–80%).
- Re-check the file size after each adjustment.
- Balance compression against clarity—your signature should never become blurry or pixelated.
If the file is too small (below the minimum size), some portals reject it too. In that case, save at a higher quality or slightly larger dimensions.
Step 6: Final Checks Before Uploading
Before you hit that upload button, run through this quick checklist:
- Format: Is it a JPEG/JPG as required?
- Dimensions: Do the pixel dimensions match the specification?
- File size: Is it within the minimum and maximum limits?
- Background: Is it clean white with no gray shading?
- Clarity: Is the signature sharp and fully visible?
Keep a backup copy of the final file on your phone and computer. You’ll likely need the same signature for the admit card download, exam center formalities, and future applications.
Common Mistakes to Avoid
- Uploading a photo of a photo: Always digitize directly from the paper.
- Colored or textured backgrounds: Shadows and off-white tints cause rejections.
- Wrong orientation: Ensure the signature is horizontal, not tilted.
- Ignoring the minimum size: Over-compression can push the file below the required KB.
- Last-minute preparation: Prepare your signature days before the deadline to avoid technical hiccups.
Conclusion
Preparing your signature for an online exam application is a small task that carries big consequences. By signing cleanly, scanning carefully, and using reliable crop, resize, and compression tools, you can produce a perfectly formatted signature in just a few minutes. Take the time to match your exam portal’s exact specifications, run through the final checklist, and keep a backup handy. With your signature ready to go, you can focus your energy where it truly matters—preparing for the exam itself.

About the Author
ramyaji
A content writer with two years of experience in the government recruitment domain. He simplifies official notifications and exam updates for SSC, UPSC, Banking, Railways, and State PSCs, helping aspirants stay informed at every stage of their preparation.